
User manual · Objects & Properties
Audio Input
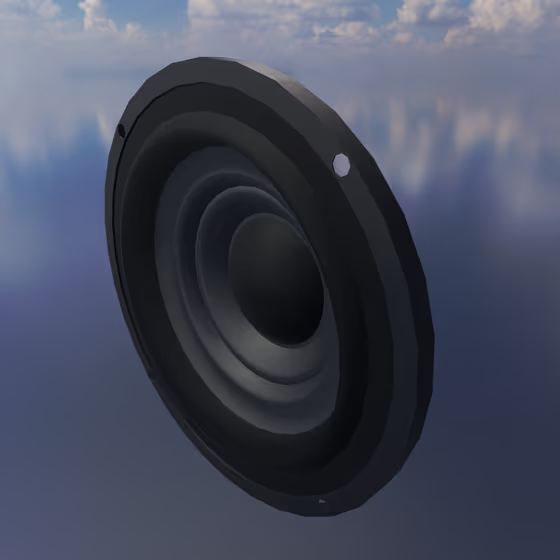
The Audio Input is used to induce vibration based on an audio signal in each Body or Resonator that is connected to it via an Exciter Link. The orientation of the Audio Input controls the direction in which each object is vibrated. The audio signal can come from an external input source (e.g., your computer's microphone) or from an internal source by connecting one or more Mics via Delay Lines. For more info, see the section on Delay Lines.
The settings every Exciter shares (its MIDI note, Mode, Velocity, Orientation and Position) are described on the Exciter & Exciter Link page. The Audio Input responds to note velocity only while MIDI Note Gate is enabled.
Video tutorial · 1:47
Audio Input Properties#
- Ext. Input: The external audio input channel(s) to use for this Audio Input. If a stereo input is chosen, the two channels are mixed down to mono. Set to "<none>" to disable external audio input and use only the audio from Delay Lines.
- Gain: The amount of gain that will be applied to the audio signal before it is applied as a directional force to connected objects.
- Delay: The duration for which the audio signal will be delayed before being applied as a directional force to connected objects. This is applied both to external audio signals, as well as Delay Line signals. Note that Delay Lines each have their own delay parameter, which is additive with this one.
- MIDI Note Gate: If enabled, the audio signal will be muted except when the associated MIDI note is played, and an envelope will be applied. When this is enabled, the envelope below appears.
Envelope#
Shown only while MIDI Note Gate is enabled.
- Envelope graph: Drag the points to set the attack, decay, sustain and release, and drag the hollow handle on a stage up or down to curve it. When several Audio Inputs are selected, a drag moves every selected envelope by the same amount; hold Alt to give them all the dragged value. Double-click a hollow handle to straighten its stage.
- Attack: When the MIDI note is pressed, this is the duration it takes for the envelope to increase from minimum to maximum gain.
- Decay: After the attack phase of the envelope is finished, this is the duration it takes for the envelope to drop from full gain to sustain gain.
- Sustain: After the decay phase of the envelope is finished, this is the fraction of maximum gain that the envelope will sustain.
- Release: When the MIDI note is released, this is the duration it takes for the envelope to decrease from sustain gain to minimum gain.
- Attack Curve: (On the graph) The attack's curvature: 0 rises in a straight line, below 0 rises fast and then slows, above 0 rises slowly and then fast.
- Decay Curve: (On the graph) The decay's curvature: 0 falls in a straight line, below 0 falls fast and then slows, as an analog envelope does, above 0 falls slowly and then fast.
- Release Curve: (On the graph) The release's curvature: 0 falls in a straight line, below 0 falls fast and then slows, as an analog envelope does, above 0 falls slowly and then fast.