
3D Visuals
Video Recording#
Anukari can record video of its 3D viewport along with audio, producing an MP4 file with H.264 video and AAC audio. This is a great way to quickly save fun musical ideas, but also can be used as part of a full-blown video production, or for posting clips to social media.
Starting and stopping: Click the red REC button or press Ctrl+E (Cmd+E on macOS). The button blinks red while recording. Click it again or press the same shortcut to stop. Stopping may take a second or two while the file is finalized.
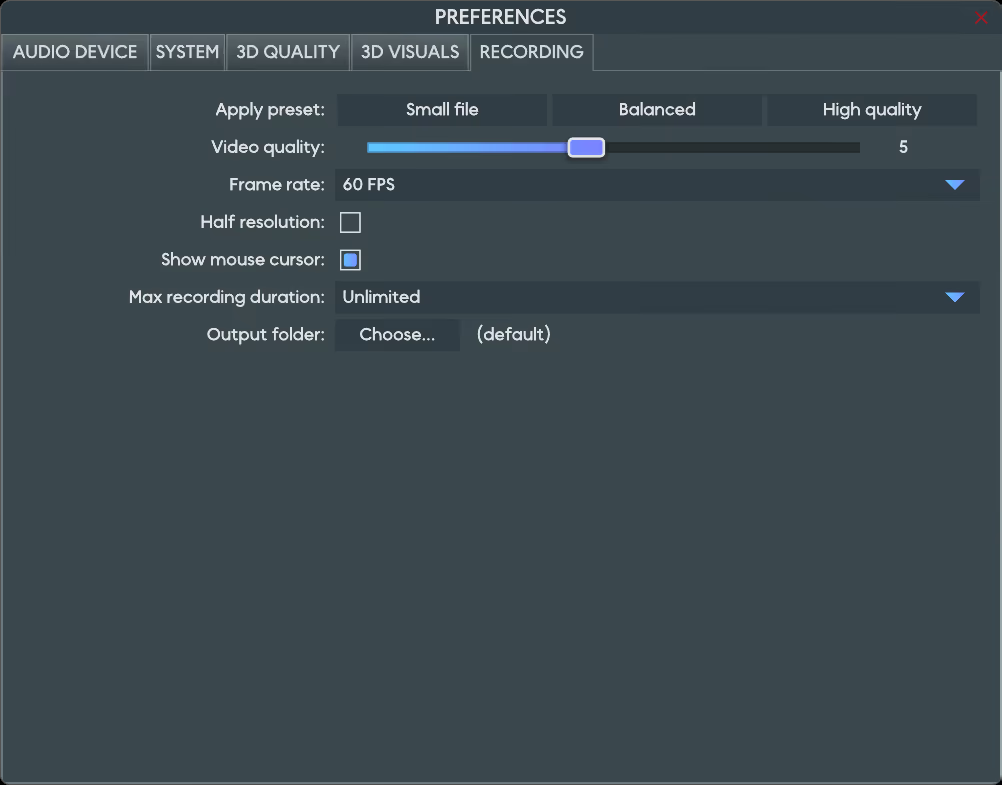
Settings: Open Options > Preferences > Recording to configure:
- Apply preset: Click a preset (Small file, Balanced, or High quality) to configure all video recording settings at once.
- Video quality: From 1 (smallest files) to 10 (best quality). The bitrate scales with the recording resolution, so larger windows automatically get more bitrate to keep the same visual quality.
- Frame rate: 30 or 60 FPS. 60 FPS is smoother but produces larger files.
- Half resolution: Records at half the window resolution. Produces significantly smaller files at the cost of reduced sharpness.
- Show mouse cursor: Include the mouse cursor in the recording.
- Record DAW audio output (plugin only): When enabled, the recording captures the audio output of the host application rather than just Anukari's own audio. This lets you record a full mix. On Windows this requires the DAW to use WASAPI or DirectSound output (it does not work with ASIO); on macOS it requires macOS 13 or later.
- Max recording duration: Automatically stop the recording after 1, 5, 10, or 30 minutes, or record without a limit. This prevents accidentally filling up your hard drive.
- Output folder: Where recordings are saved. Leave as default to use the system Videos/Movies folder.
Limitations: Recording will stop automatically if the window is resized or minimized, or if the audio sample rate changes mid-recording. On macOS, screen recording permission is required.
Camera Automation#
Camera automation continuously moves the camera using oscillating waveforms, similar to an LFO. This is useful for creating dynamic videos and live visuals.
Accessing camera automation: Go to Options > Camera automation settings… to open the configuration dialog. Use Options > Run camera automation (or the "V" hotkey) to start and stop the motion.
Parameters: Six independent axes of motion can be configured:
- Latitude: Rotates the camera up and down.
- Longitude: Rotates the camera left and right.
- Pan X / Pan Y / Pan Z: Translates the camera along each axis.
- Zoom: Moves the camera in and out.
Controls per parameter:
- Enable: Toggle this axis on or off independently.
- Waveform: The shape of the oscillation: Sine, Triangle, Sawtooth, Reverse Sawtooth, Square, Abrupt Random, or Smooth Random.
- Amount: The amplitude of the motion.
- Period: The time (in seconds) for one complete cycle, from 1 to 180 seconds. Shorter periods produce faster motion.
Visual Shaders#
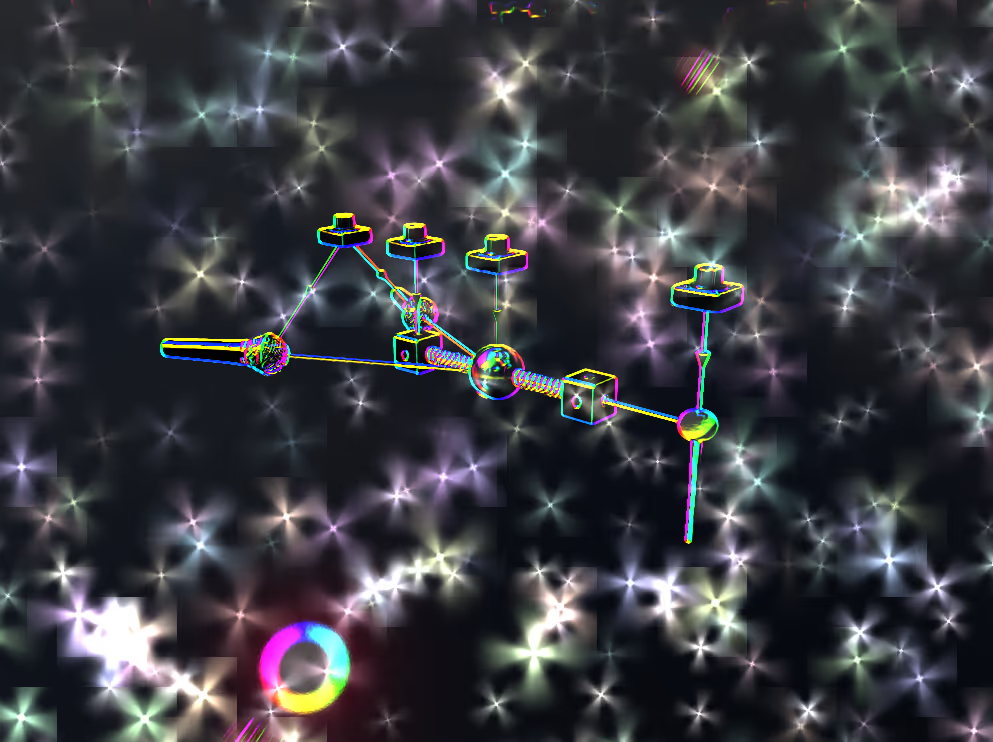
Shaders are audio-reactive post-processing effects applied to the 3D viewport. They can dramatically change the visual style, from subtle film grain to wild psychedelic distortions, and react in real time to your audio output and DAW tempo. Here's an example of the default factory preset being run through the Neon Edge Glow and Starfield shaders:
Selecting a shader: Open Options > Preferences > 3D Visuals, or click the 3D Visuals Preferences button on the right side of the 3D viewport.
The Post-process shader 1 and Post-process shader 2 sections each have a dropdown menu listing all factory shaders, a "None" option to disable the slot, and a file browser for loading custom shader files (*.shader.zip). Use the left and right arrow buttons to quickly cycle through the available shaders.
Dual shader pipeline: Anukari supports two shader slots that chain together. Shader 1 processes the raw 3D scene, and Shader 2 processes the output of Shader 1. This allows layering multiple effects.
Bypass: Use the Options > Bypass visual shaders toggle to temporarily disable all post-processing without changing your shader selections. This is often useful when the shaders distort the image so much that editing the preset is not possible.
Factory shaders: Anukari ships with dozens of factory shaders including Aurora, Cel Shader, CRT Monitor, Fluid Dynamics, Glitch, Kaleidoscope, Neon Edge Glow, Plasma Wave, Stained Glass, VHS, and many more.
Cinematic Mode#
Cinematic Mode temporarily hides all of Anukari's 2D controls and menus so that the 3D view can be expanded to fill the entire window. This is useful for scenarios such as projecting Anukari's 3D visuals to your audience during a performance, or using screen capture software to record the 3D visuals for sharing on social media.
Cinematic Mode can be enabled via the Options > "Cinematic Mode" menu option, or via the hotkey F11 (Windows) or ^ + ⌘ + F (Mac).
To exit Cinematic Mode and restore the 2D controls, press one of the hotkeys described above, or move the mouse cursor to the top center of the window, which will bring up a button that you can then click to exit.
Show All Links#
View > Show all links (Ctrl+L / Cmd+L) toggles the visibility of links in the 3D viewport.
In Anukari, "links" are the connections between objects: Mics and Exciters are linked to Bodies, Modulators are linked to almost any object, etc. In a complex preset with many connections, the web of links can become visually cluttered.
When enabled (the default), all links are drawn in the 3D view. When disabled, only links that are selected or connected to a currently selected entity are shown. This makes it much easier to focus on a specific part of a complex instrument.