Release 0.9.30 adds post-processing shaders and 1-click screen recording. The recorder alone is 6,500 lines of platform-specific C++, built with Claude.
Captain's Log: Stardate 79711.6
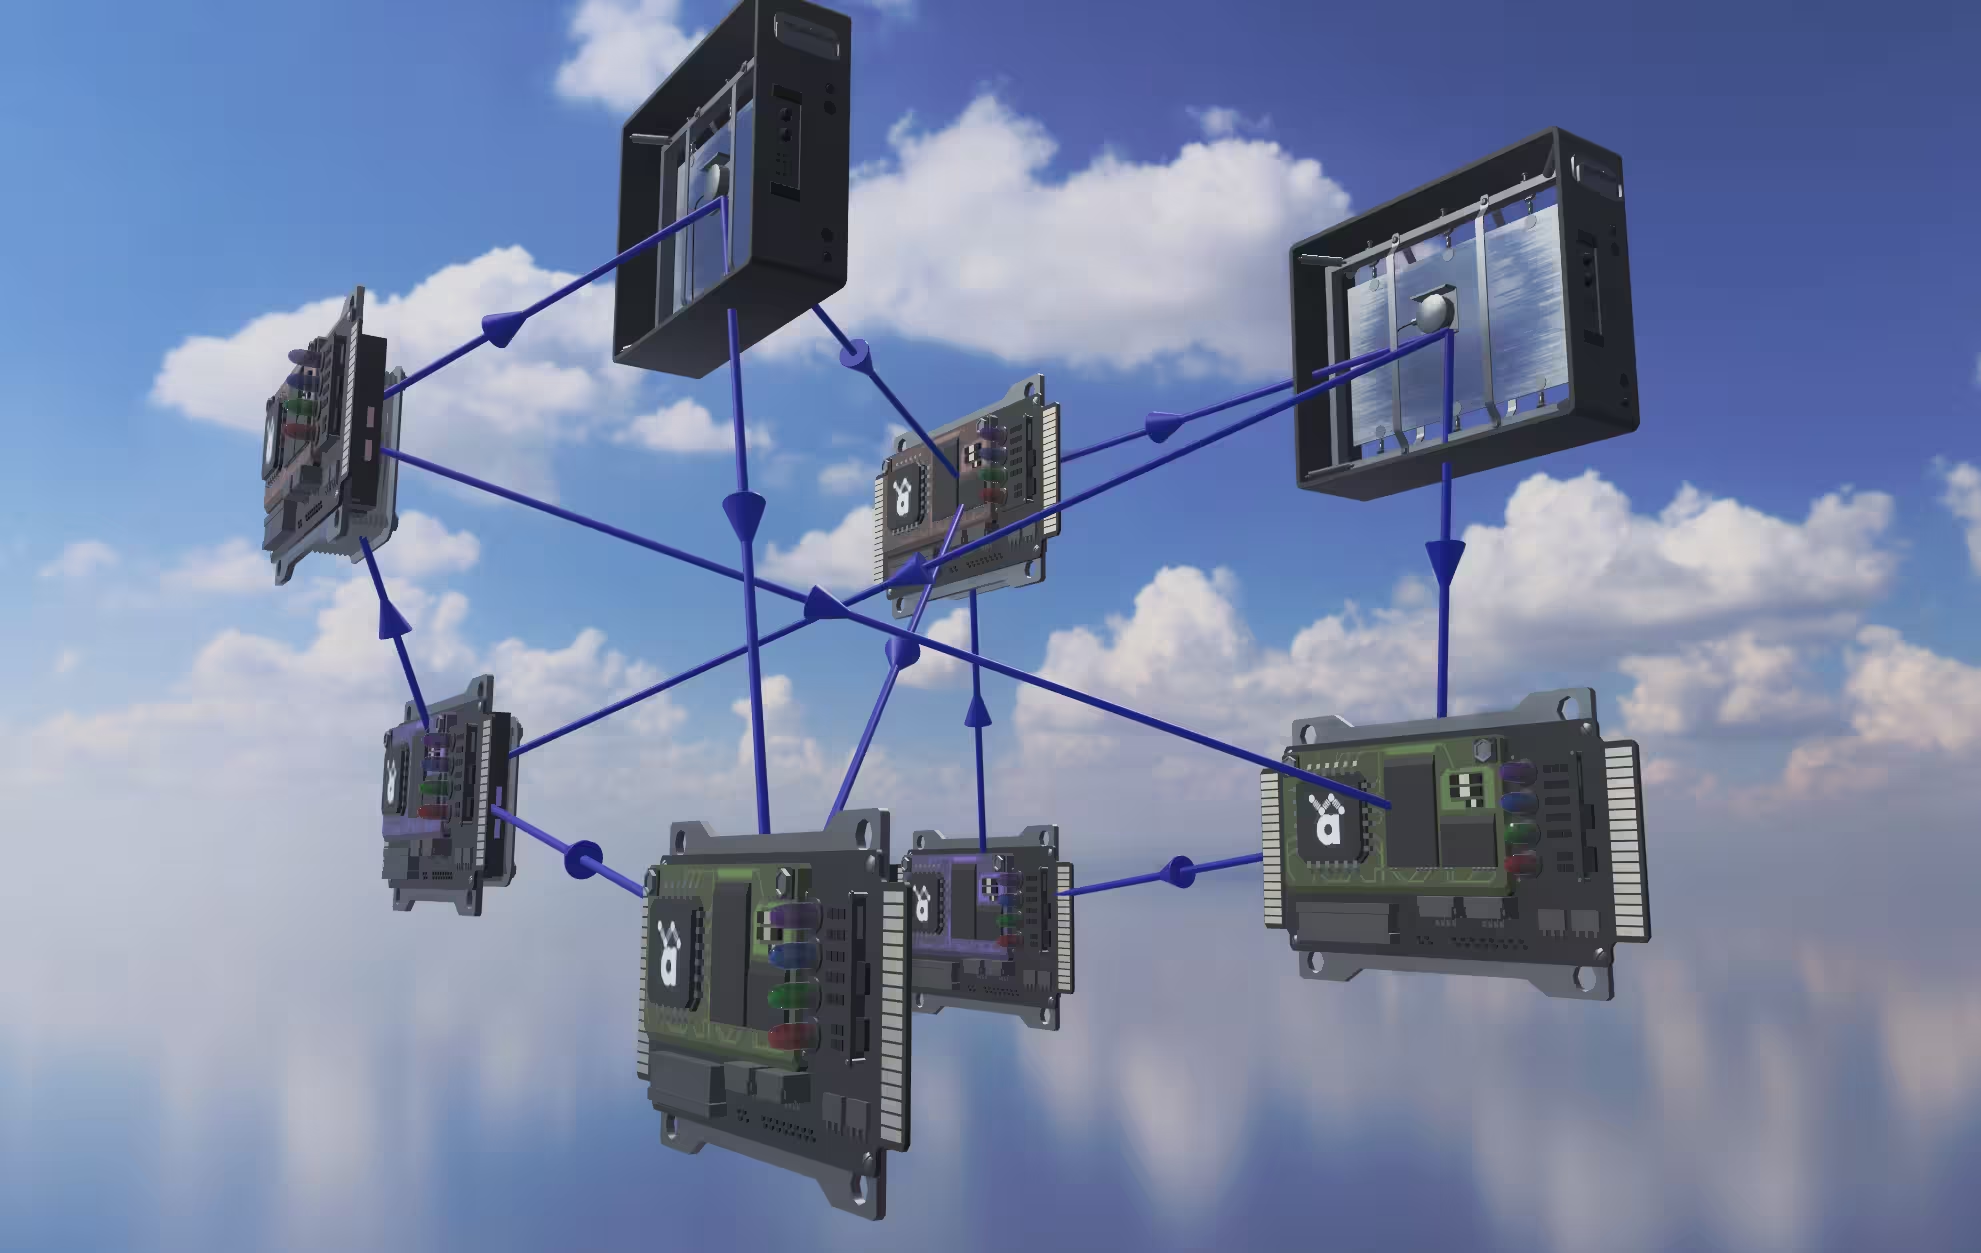
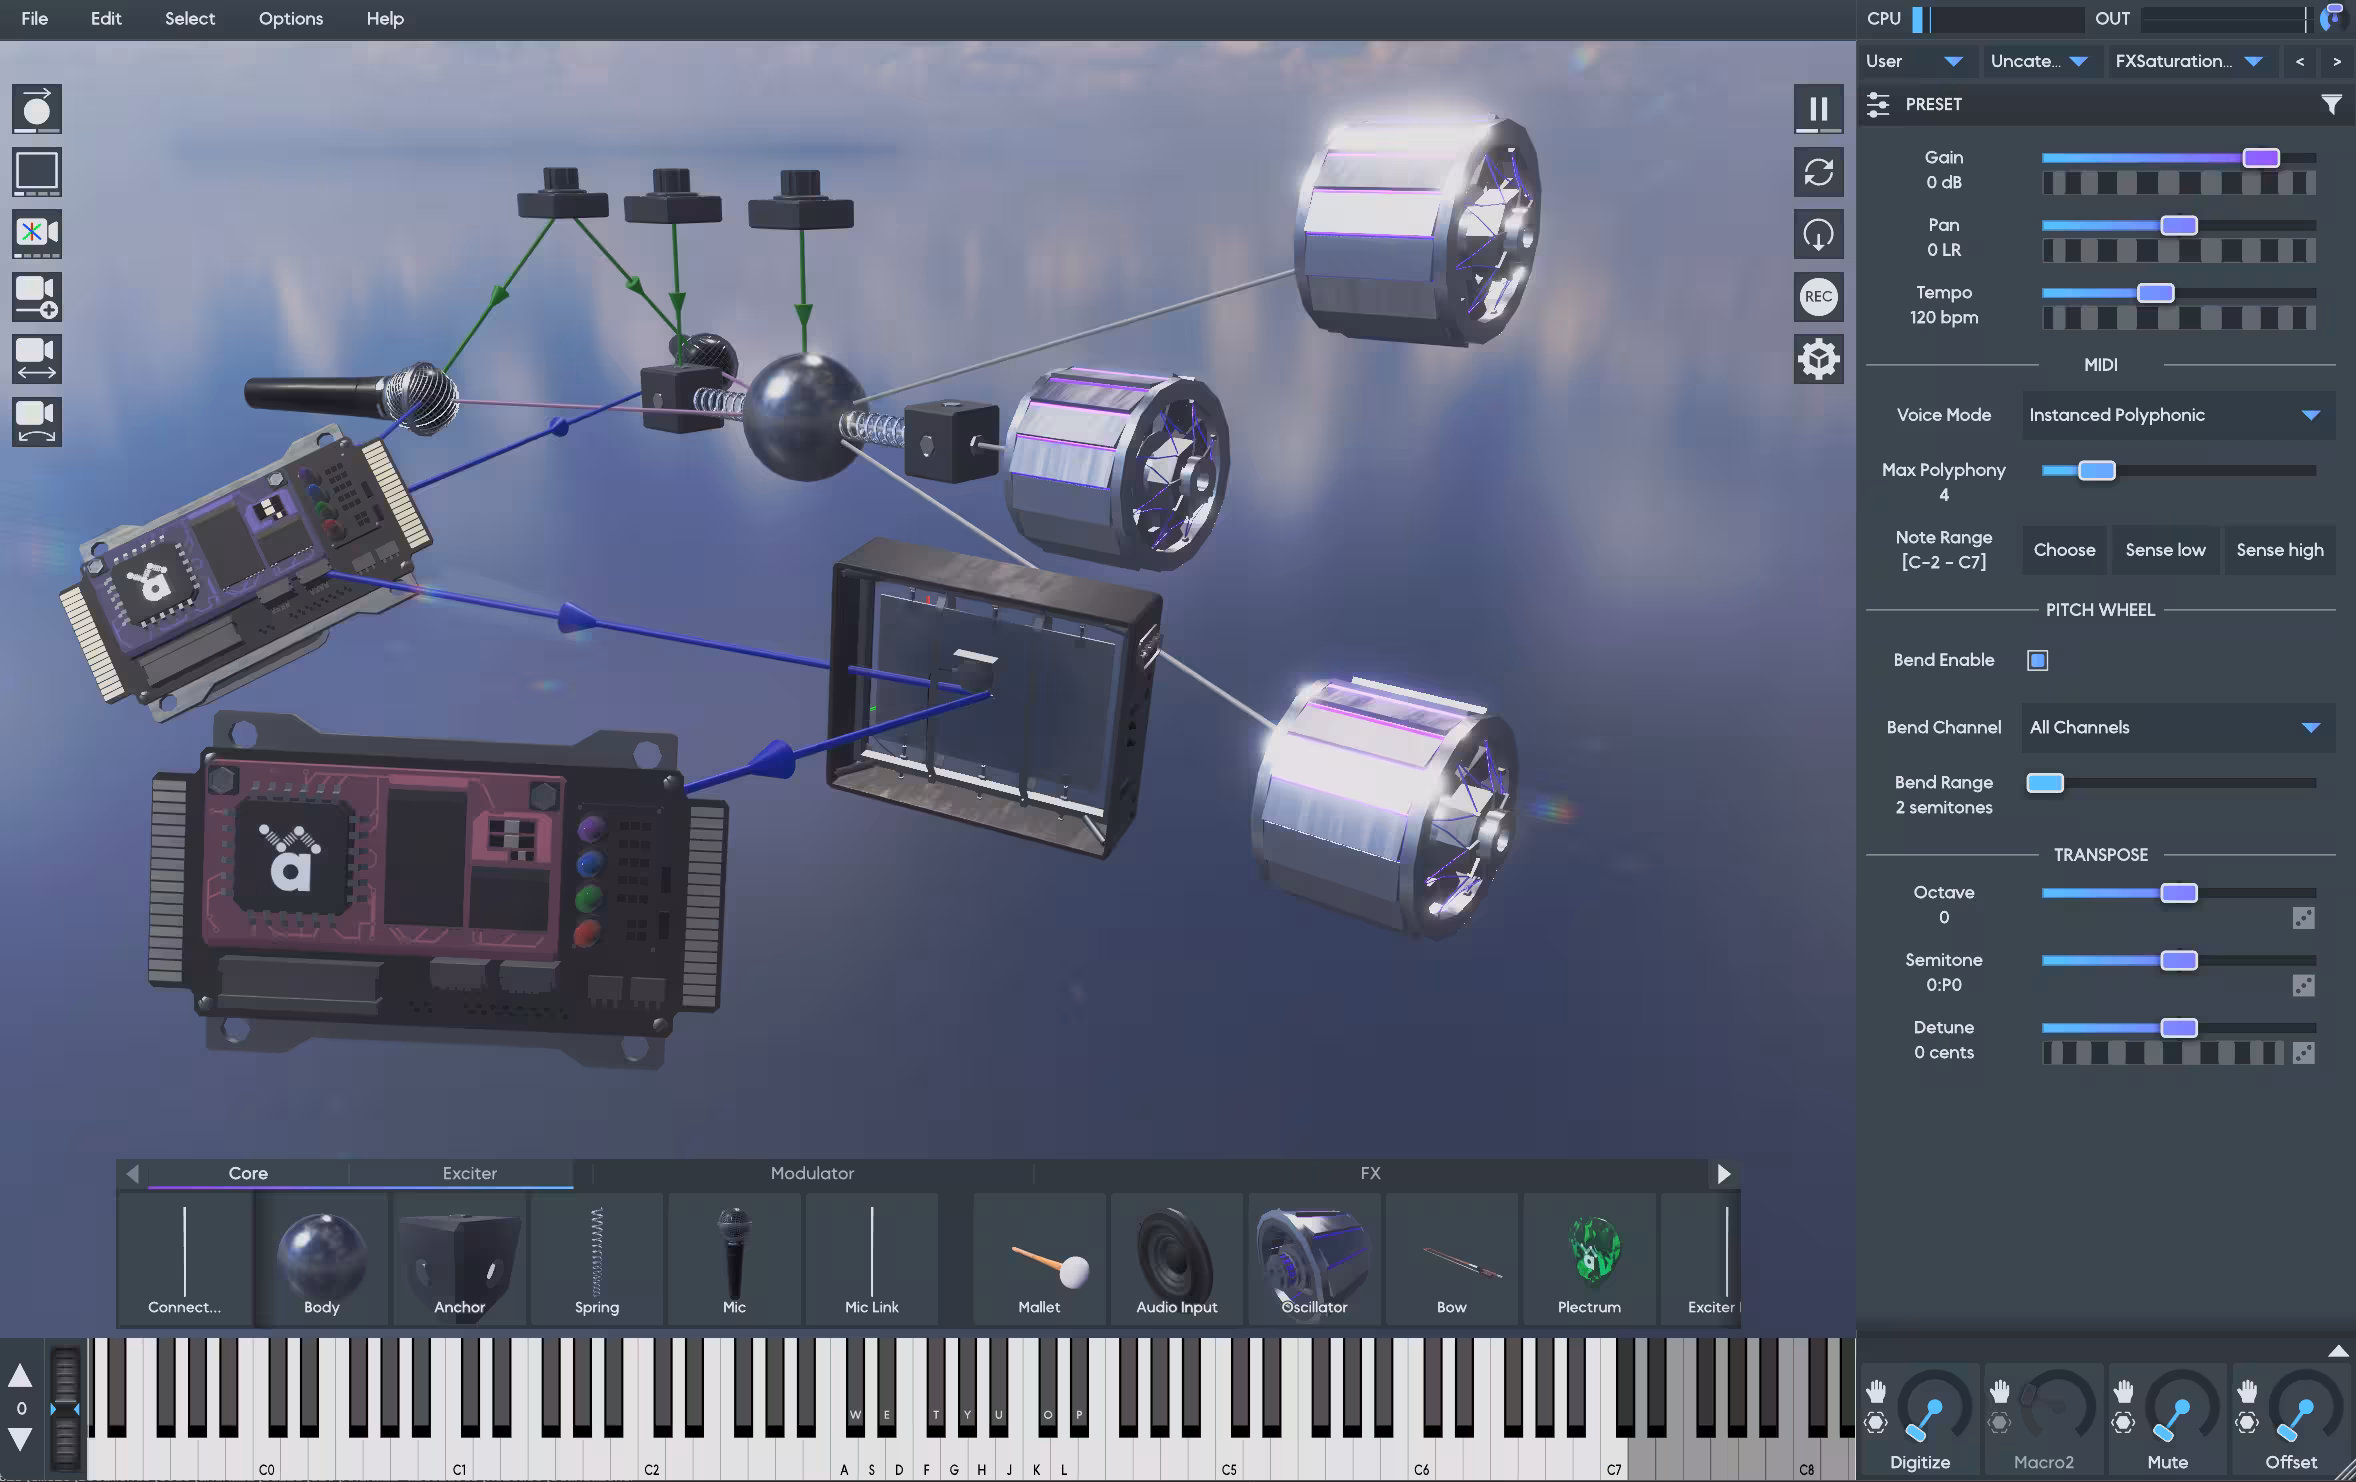
The 0.9.30 release is finally out (download, release notes), and the two biggest features are post-processing GPU shaders and 1-click screen recording.
The post-processing shaders have been on my TODO list since almost the very beginning. Originally the 3D renderer was a hand-rolled OpenGL implementation, and I wrote all the shader code by hand. Along the way I realized it would be cool if the shaders could be customized, especially if users could even provide their own shaders at runtime. But it was always a “nice-to-have” feature, and more important things pushed it down the TODO list.
Anukari is getting close enough to a 1.0 release that I am getting around to adding these kinds of features. And of course another big factor is the huge productivity gains I am getting from using agents (Claude).
One way that Claude is incredibly useful is that I can take an item from my huge TODO list, give a brief description of the feature to Claude, and just see what happens. If Claude fails miserably, I can simply move on to the next TODO. But sometimes it just knocks it out of the park, and with some cleanup and testing, Anukari has a new feature.
The post-processing shaders were pretty straightforward to implement, and Claude made things go really fast. Basically all of the pieces were already in place: the new Filament 3D renderer supports off-screen textures and custom shaders, and I already built the machinery for loading custom 3D assets for the skyboxes and 3D models. So it was basically just some work to glue everything together.
The biggest chunk of work was adding more tests. The 3D renderer was never super well-tested. Visual things like this are tricky to test; you can do “goldens” -style tests where you make sure that a screenshot matches an expected one, but unit tests are still a challenge in many cases.
My main concern was less about whether the graphics looked right (though that is important), and more about whether it was possible to crash Anukari with the new shader feature. It adds complexity, some new failure modes, etc.
I ended up writing a fuzz test suite for the renderer. It creates a real visible OS window, attaches the renderer, and then just goes absolutely nuts on it. It does thousands of iterations of randomly mutating the Anukari preset, tearing down and restarting the renderer, changing the window size, changing the skin, the skybox, the shaders, hiding the window, reattaching the renderer to a new window and so on. It doesn’t validate anything except that the renderer continues to produce frames, and importantly, that it doesn’t crash.
This fuzz test has already paid off! It found not only crashes in the new shader code, but also multiple existing crashes in the underlying 3D renderer, which I helped to track down and fix (example1, example2, example3).
On the other hand, the screen recording feature was absolutely not in the “Claude just goes off and implements it” category. Far from it. That’s not to say that Claude was not immensely helpful. But it required a huge amount of guidance.
All things said and done, the code for screen recording is about 6,500 lines of C++. Roughly speaking, it’s one-third Windows-specific code, one-third macOS-specific code, and one-third test code.
I had no idea how complex this feature was going to be! I always assumed it would be fairly annoying, due to the fact that screen recording is inherently platform-specific, but it turned out to be a gargantuan pain in the butt. Here is an incomplete sampling of some of the things that made the screen capture feature complicated:
There are just so many dimensions to the problem that result in special cases or branches in the code, it is inherently very messy.
If I were writing all this code without Claude’s help, I would have gotten a couple days into the project and realized that the cost/value trade-off was not going to be worthwhile. I probably would have simplified the problem: screen recording would only be available for the standalone app, and only on the very newest OS versions. That would still be pretty useful, and probably 20% as complex.
But… I got into a groove with Claude where I’d be off testing the screen capture feature on one of my test machines (or test VMs) while Claude was investigating the last bug/crash I found. When Claude had results, I’d come back and review the code, give Claude feedback, and continue work on manual testing.
Not all of Claude’s fixes worked, but when they didn’t work I would explain what happened to Claude and have it try something else. Eventually I gave Claude a prompt like, “please add an insane amount of verbose logging about everything that we possibly might care about.” This sped up the feedback loop considerably, because when I would find an issue, there was potentially enough info in the logs that Claude could figure it out on the first try, without multiple rounds of testing.
Along the way, when I didn’t have any manual testing to do, and was waiting on Claude to debug the latest issue, I began work on automated testing. I had Claude write a sophisticated integration testing framework for the screen recorder.
The integration testing involves creating a bunch of real OS windows. The windows are pink, except the corners which have small boxes drawn in four very distinct colors. And the process owning the window plays back a sine wave. The integration tests exercise the screen recording machinery on those windows, open the resulting MP4 file, decode it, and check that it looks and sounds right.
These integration tests are the only way that I felt even remotely comfortable that maybe the whole insane project was going to work. I set up all the wacky scenarios that the code had to handle, like having the audio come from a different process than the one that owns the window, which is itself in a different process from the screen capture code. In this case the capture code has to walk the process hierarchy to the root and do a search back down the hierarchy using heuristics to determine which process owns the audio subsystem, the plugin window, etc. It is absolute madness, but with Claude’s help I was able to set up tests that actually create this process structure in various ways and prove that the capture code works!
Ultimately getting this feature to work took around 400-500 Claude chat prompts, and many hours of testing Anukari on my fleet of 10 or so test machines. Currently I am not aware of any situation where it doesn’t work. Knock on wood, though… and if you find a scenario with Anukari where the screen capture feature doesn’t work correctly, please let me know.
I’ve made a habit of whenever a user reports a crash that I deem hardware-specific, that I find the cheapest version of that hardware on eBay and buy it. This has resulted in a test fleet that gives me coverage across a bunch of graphics chips for Windows: Intel UHD, Intel Iris, AMD Radeon Mobile, AMD Radeon Desktop, NVIDIA. I also have macOS coverage for a 10 year old Intel Mac, an M1, and an M4. I use a VM on my Windows desktop to test against Windows 10.
I call this test fleet the “stack-o-laptops.”
In addition to compatibility testing, it’s also great for performance testing. I got most of these laptops used for $100-$200, so they are not exactly spring chickens. Most of them are the kind of machines where after opening the lid, you get to wait a while for them to wake up, rub their eyes, yawn, and remember that they’re supposed to show a login screen.
This is fairly annoying when I just want to quickly test compatibility, but overall it’s valuable to run Anukari on this kind of hardware to make sure that it still has reasonable performance. Anukari is solidly usable on even the worst of my test hardware, though things do get questionable with some of the most complex presets. Another challenge is that if the OS starts doing something like installing an update, everything grinds to a halt. But there’s not much I can do about that.


.jpg)